The Web Interface allows you to configure everything in the Monitoring Database. You can create checks, add hosts, and add folders. You can also view the checks' status and plot graphs. All you need is a web browser. The Web Interface is implemented as a separate cross-platform Java application that runs on Jetty (http://www.eclipse.org/jetty/), an open-source web server that supports JSP and servlets.
For the Web Interface to work, you must do the following:
- Install Java Runtime Environment (JRE), a barebone Java Virtual Machine implementation that is necessary to run Java applications, on you server. JRE is distributed for free. You can download JRE versions for most platforms from Oracle's website (http://www.java.com/en/download/). We recommend that you use JRE 8.
- Install Jetty (http://download.eclipse.org/jetty/) on your server. Jetty usually does not have its own installer. Just unpack the Zip archive with Jetty to the target folder. We recommend that you use Jetty 9.
- Configure Jetty in such a way that the web server can run as a service (daemon). Please note that you cannot use any spaces when specifying the path of jettyservice.exe in the service's properties. Therefore, you need to use the short (8.3) path-name equivalent: c:\Progra~1\...
- Copy the netmonitor.war application to the ...\JETTY\webapps\ folder.
- Configure the database connection for the netmonitor.war application.
- Run the Jetty service.
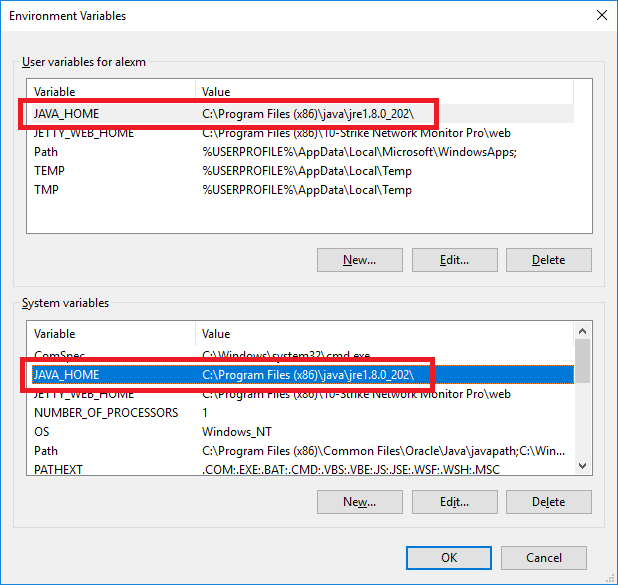
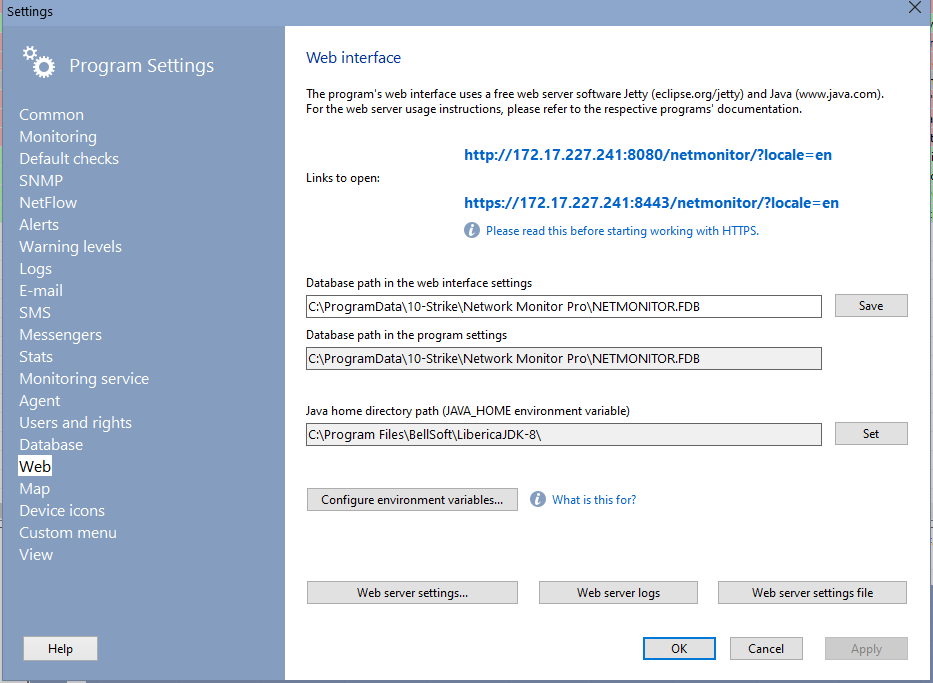
- Configure Java environment variables. Go to the program settings and open the Web section. Click "Configure the environment settings" or open the Computer Properties (in Windows) - Advanced system settings - Environment variables. Create the JAVA_HOME variable in the first and second lists (the "User variables" and the "System variables"). It should point to the Java folder path (for example, C:\Program Files (x86)\java\jdk1.8.0_174\). It's simplier to specify the Java path using the Set button on the program setting window, in the Web section (see the second image below).
You can do all of the above actions automatically by using the Web Interface distribution package from the network-monitor-pro-webservice.exe file.
The Web Interface will be available at this address: http://<server-address>:8080/netmonitor/
Here <server-address> is the address of the server where Jetty has been installed, and 8080 is the default port (you can change it in the Jetty settings).
Using the Monitoring Application via the Web Interface
We implemented the Web Interface in such a way that it looks and works almost like the desktop version of the Monitoring Application. Therefore, when using the Web Interface, please refer to the Help sections on using the main application.
The only exception is that some features cannot work locally on the computer with the web browser.
When you open the program's web UI, the web application requires you to authorize for connecting to the program database. The default login and password are the following: SYSDBA / masterke (without the last letter "y"). Learn more about creating new databse users and changing their passwords in the User Accounts, Rights, and Roles and The Application's Database help topics.
The following features are unavailable when using the Web Interface:
- Network scanning.
- Auto-filling of some fields in the check parameters window.
- File opening dialogs (you need to specify full paths in such a way that the Monitoring Service on another server can "see" them).
Other features that are unavailable in the current Web Interface version may be added in the forthcoming version.