To open the Settings window, click the button on the toolbar or select the main menu item "Service - Settings". The program settings are divided into several sections which will be described below:
Collecting Information
Background Check
Inventory (hardware parts)
Custom Fields
Remote Agents
License Information
Allowed Software
Installed Software Filter
Alerts
Scheduler
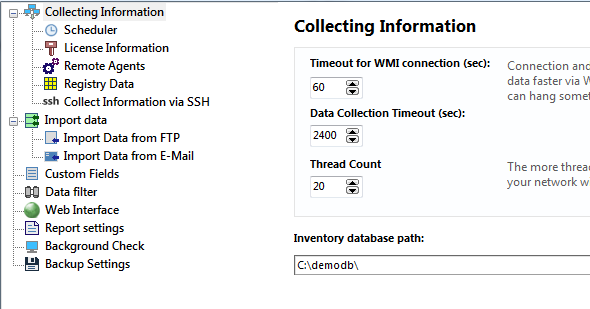
- WMI connection timeout (in seconds) - length of time, within which the program expects response from the remote computer's WMI service (30 seconds by default).
- Track inventory changes - this option allows you to turn on analyzing all gathered data for changes or turn this function off. The tracking allows you to find new software and hardware installed on remote computers, find deleted and changed items (shared resources, RAM size, disks, accounts, etc.). But the analysis takes some CPU time. 1) When the tracking is on and you gather data via WMI or agents, the program performs the comparison between old and new configurations in order to find the changes in real-time, and you may not even notice the slowing down. 2) But when the program imports client data files on the startup (if you have hundreds of clients installed), the comparison can take a minute or two and you will have to wait this time before the program is ready to work. If you do not want to wait while the client data is imported on the startup, you can turn the change tracking off.
- Import client data from folder on startup selecting this option will set the application to gather data from clients through a public folder. When using the 10-Strike Network Inventory Client component on computers configured to dump data to that folder, the gathered data will be imported to inventory database on the application startup. Along with using agents, this method of gathering data from clients is yet another alternative to the polling with WMI.
Warning! This client data file importing folder should differ from the inventory database folder (see the next setting's description). After the importing, the program deletes the imported data files from this folder. It moves the files from the client import folder to the database folder.
If the Track inventory changes setting is selected, the program also analyzes the files for changes and the startup importing can take up to several minutes (see the previous setting's description). - Inventory database path - you can change the inventory database's location (make sure that you have all the necessary permissions for writing to the new path). You can organize a multi-user access to the inventory database stored in a shared folder. Place the database on a network server, so administrators will be able to run the program on different computers simultaneously and use one common database. The first connected user gets full access to the database. Other users will get the read-only access only while the first user disconnects (they will see the first user's computer name on the program start). In the read-only mode, the users can view and search for data, create and print reports.
Warning! This inventory database folder should differ from the client data file importing folder (see the previous setting's description). The program moves the files from the client import folder to the database folder. For example, clients copy data files to folder1. The program opens the inventory database from folder2. When you start the program, it moves all new client data files from folder1 to folder2. If you want other administrator to be able to connect to one common inventory database, you need to share folder2 to him, and he should configure the inventory database path to folder2.
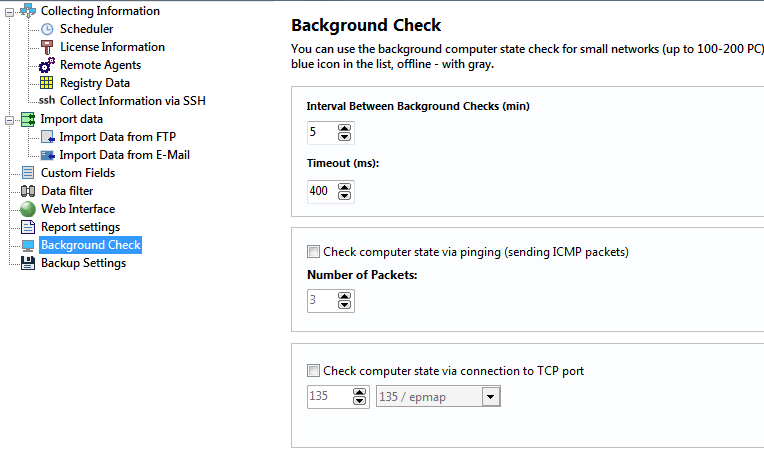
This section of the program's settings configures settings for background monitoring, which returns device status (active, inactive) in real-time, preventing you from connecting to offline computers and waiting for long timeouts. Offline computers are marked by grey color in the list of computers.
The background scanning helps to avoid the attempts of connecting to computers disconnected to network; thus, it cuts the load falling on the application and the computer when polling and saves administrator's time.
- Interval (in minutes) - default period of time, in which the program starts querying computers again. The default value is 5 minutes.
- Timeout (in milliseconds) - length of time, within which the program expects response from each computer. The default value is 1000 milliseconds.
- Ping (ICMP) - regular ping check (sending ICMP echo packets).
- Number of packets - if the number of packets is greater than one, if a negative response is received for the first packet, the remaining packets will be still sent to the remote host. This eliminates the possibility of false detection of object status when a single packet is lost.
- TCP port - TCP connection check. Please specify number of TCP port for checking. You can watch protocols in the drop down list. Since most hosts in modern networks are protected by firewalls, pinging those hosts regularly may not work out (if ICMP protocol is disabled). In such cases, checking by opening a TCP connection to a specific port of the host may help. In this case, we can check the availability of computers by attempting to connect to their TCP port 135 (DCOM) or 139 (NetBios).

In this section, you can configure computer components for the inventory. These fields are displayed in the "Computer card" window.
Custom Fields
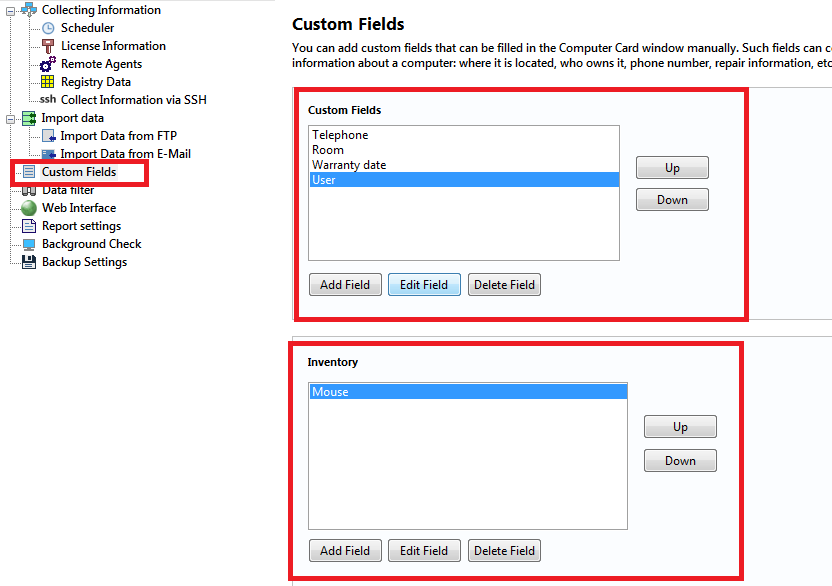
In this section, you can configure additional information fields for computer inventory. These fields are displayed in the "Computer card" window.
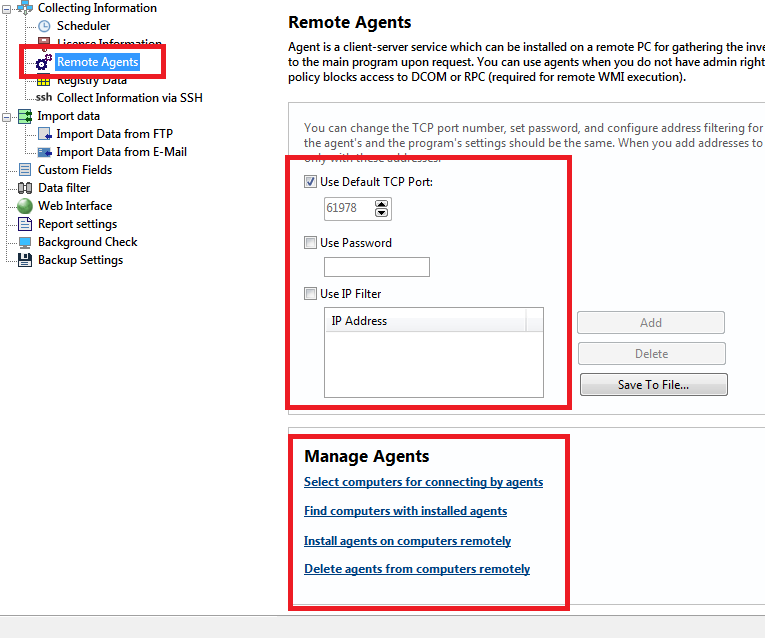
In this section, you can configure remote agents for collecting information.
If you cannot use WMI for scanning remote computers for some reason (different domains, no administrator access, restriction on using DCOM/RPC via network, etc.), you can gather the required information with remote agents. The agent consists of a service and a program for configuring the service. The service locally collects the necessary information upon request and sends it to the main program via client-server technology (using TCP/IP connection).
The following security settings can be configured when using agents:
- Password - Set password for connecting to agents. Agents must have the same password as the main program in order for successful connection.
- IP filtering - Configure IP addresses of computers where the main program is installed (this settings is used for generating agent configuration files). If the "Use IP filter" option is selected, agents accept requests only from the specified IP addresses.
- TCP port - You can change the default number of the TCP port which is used for connecting to agents.
Read more on configuring and using agents
After finishing installing the remote agents and allowing them in the firewalls, click the "Computers..." button and select computers to be accessed with the agents.
In this section, you can configure registry paths for collecting license information from network computers.
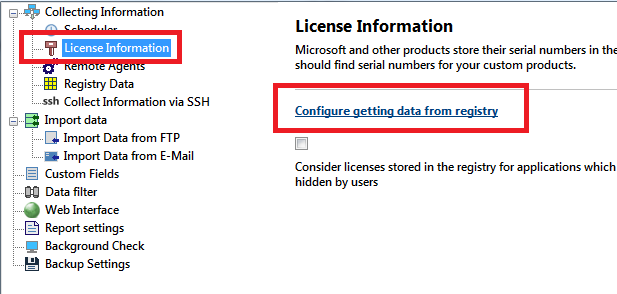
You can Create, Edit, and Copy license templates. The program searches the specified registry paths on network computers and shows serial numbers, etc. in the "License information" section.
Click Import for importing license templates from a .cfg file.
Click Export for exporting the existing license templates to a .cfg file.
Read more on how to configure retrieving license information
In this section, you can configure the list of authorized software. Other software found on remote computers will be considered as unauthorized and you will be able to view it.
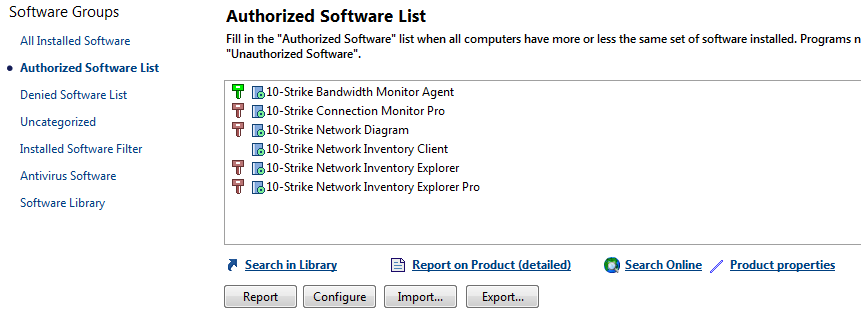
Read more on how to configure the authorized software list
The list of installed software and the appropriate reports can display some unwanted software titles like system or software updates (for example, MS Office updates) that can overload the software list. By default, the program tries to filter out the system updates according to the registry values. However, some updates can be still displayed in the software list. If you want them to disappear, please configure the Installed Software Filter in the program settings.

The Installed Software Filter is configured almost in the same way as the Authorized Software list (see the previous paragraph). Click the "Configure..." button and enter title masks for software applications you want to hide from reports. For example, add the "*update*" or "*(kb*" masks for system updates.
The program can monitor hardware and software on remote computers and raise alerts notifying the system administrator when some configuration changes occur (for example, if some new software was installed on the remote PCs). The following notifications are available:
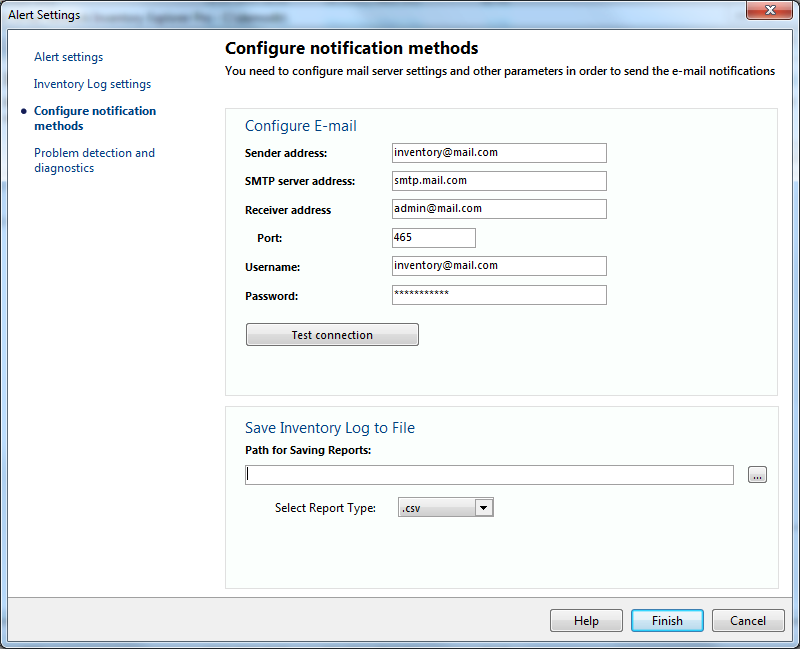
- Sending e-mail
- Displaying a screen message
- Recording to the system Event Log
- Recording to the program Inventory Log
- Playing a sound file.
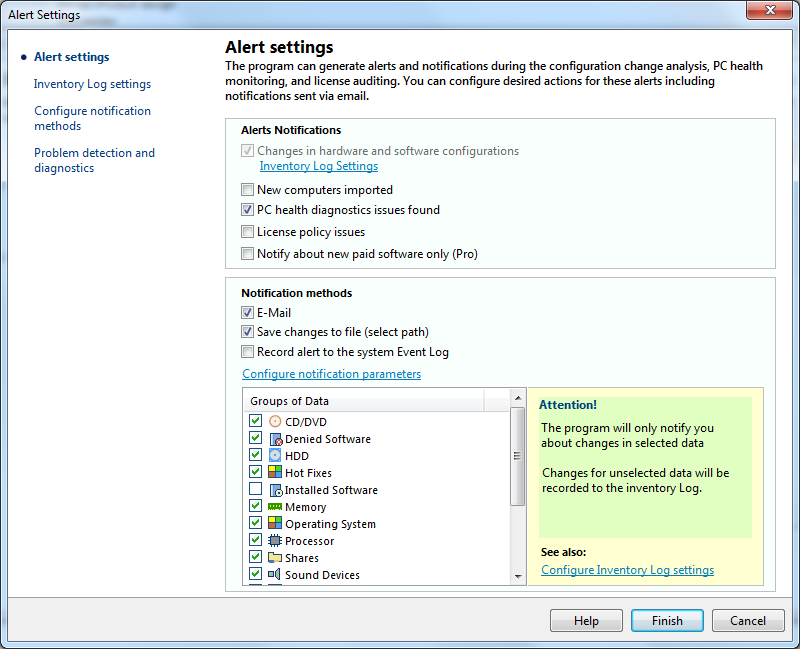
Select necessary notification methods and configure email (SMTP server) and sound settings.
You can gather inventory data automatically via WMI and agents using the built-in Scheduler. To do that, enable the "Scheduled Data Collection" option.
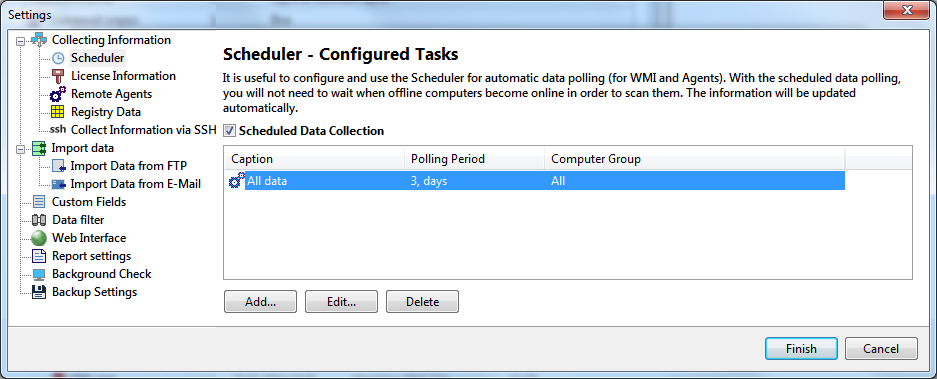
Learn more about configuring the scheduled data gathering.